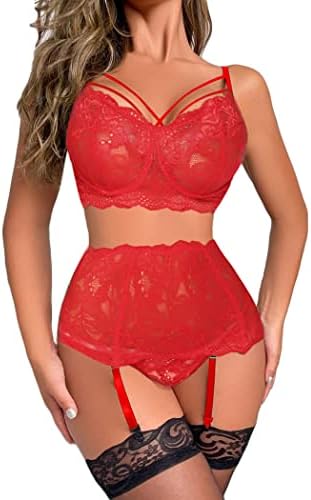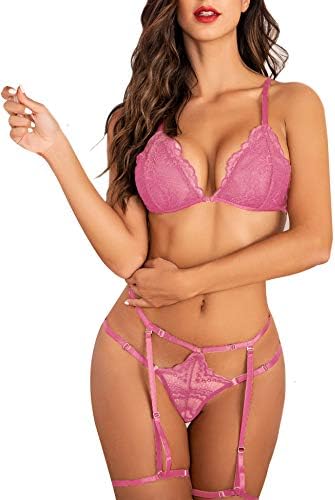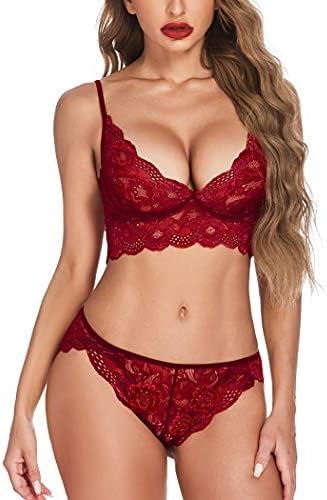
Measuring the upper torso accurately
Stand upright without shoes and breathe out normally. Wrap a flexible vinyl tape directly around your ribcage right under the breast tissue. Pull it snug against the skin so it rests flat without digging in. Write down this underbust number to the nearest half inch. It determines your primary band dimension on traditional hook closures and elastic underbands.
Next, measure around the fullest projection of the bust. The tape must remain straight across your shoulder blades in back. Do not compress the tissue. Wear an unlined, non-padded bra if you need light support while taking this reading. Subtract the underbust number from this bust number to determine your relative cup depth before checking the size table.
Recording the waist and hips
Locate your natural waistline by bending slightly to one side. The crease marks your narrowest torso point. Circle the tape around this exact level, keeping one finger between the tape and your body for breathing room. Avoid sucking in your stomach. An artificial reading causes the waist elastic on high-rise bottoms to roll or pinch during normal movement.
To measure the hips, stand with your feet together on a flat floor. Wrap the tape around the widest point of your buttocks and upper thighs. Look in a mirror to confirm the loop stays level from front to back. This measurement guides brief, thong, and boyshort selection, particularly across styles with non-stretch lace panels or fixed side straps.
Why lingerie differs from ready-to-wear
Ready-to-wear dress charts assume standard proportions with fixed drops between bust, waist, and hip. Two-piece sets use stretch fabrics like nylon mesh and spandex knits that behave differently under tension. A size medium in woven workwear might have a rigid thirty-eight inch bustline, while a lingerie medium relies on material recovery to span thirty-four to thirty-six inches comfortably.
Cut geometry creates another split. Intimate apparel pieces feature adjustable shoulder sliders, hook-and-eye rows, and open strap configurations. These structural elements allow variable tension across specific zones. Standard dress labels assign a single number to the entire torso. Matching sets require evaluating both garments together against individual stretch limits rather than relying on standard dress numbers.
Managing split sizes across pieces
Many shoppers carry different sizes on top and bottom. A smaller bust paired with wider hips requires prioritizing the garment with less mechanical adjustability. If the panty features fixed lace with minimal stretch, match your size to the hip measurement first. Most bra tops include multiple hook settings and shoulder sliders to compensate for a slightly larger band frame.
Conversely, consider cup coverage first if you select an underwire design. A wire that sits directly on breast tissue creates discomfort and distorts the fabric. You can adjust the waistline fit on many bottoms, but an undersized underwire cannot be corrected. Look closely at the closure specifications to decide which piece offers more adjustment range.
Selecting sizes on the border
Measurements that fall squarely between two column limits require a quick look at the fabric blend. High spandex percentages above fifteen percent offer substantial give and recovery. You can choose the smaller option for a closer, firmer hold. Mesh panels containing ten percent spandex or less offer moderate give and fit better when you choose the larger bracket.
Consider your personal preference for elastic tension along the edges. Wider elastic bands distribute pressure evenly across skin, while thin elastic cords can press deeper if stretched to their absolute maximum limit. Selecting the larger size prevents scalloped edges from curling over and maintains the flat alignment of decorative lace motifs against the body.
Keep the tape level across your back and parallel to the floor for an accurate bust measurement.